 Image 1 of 1
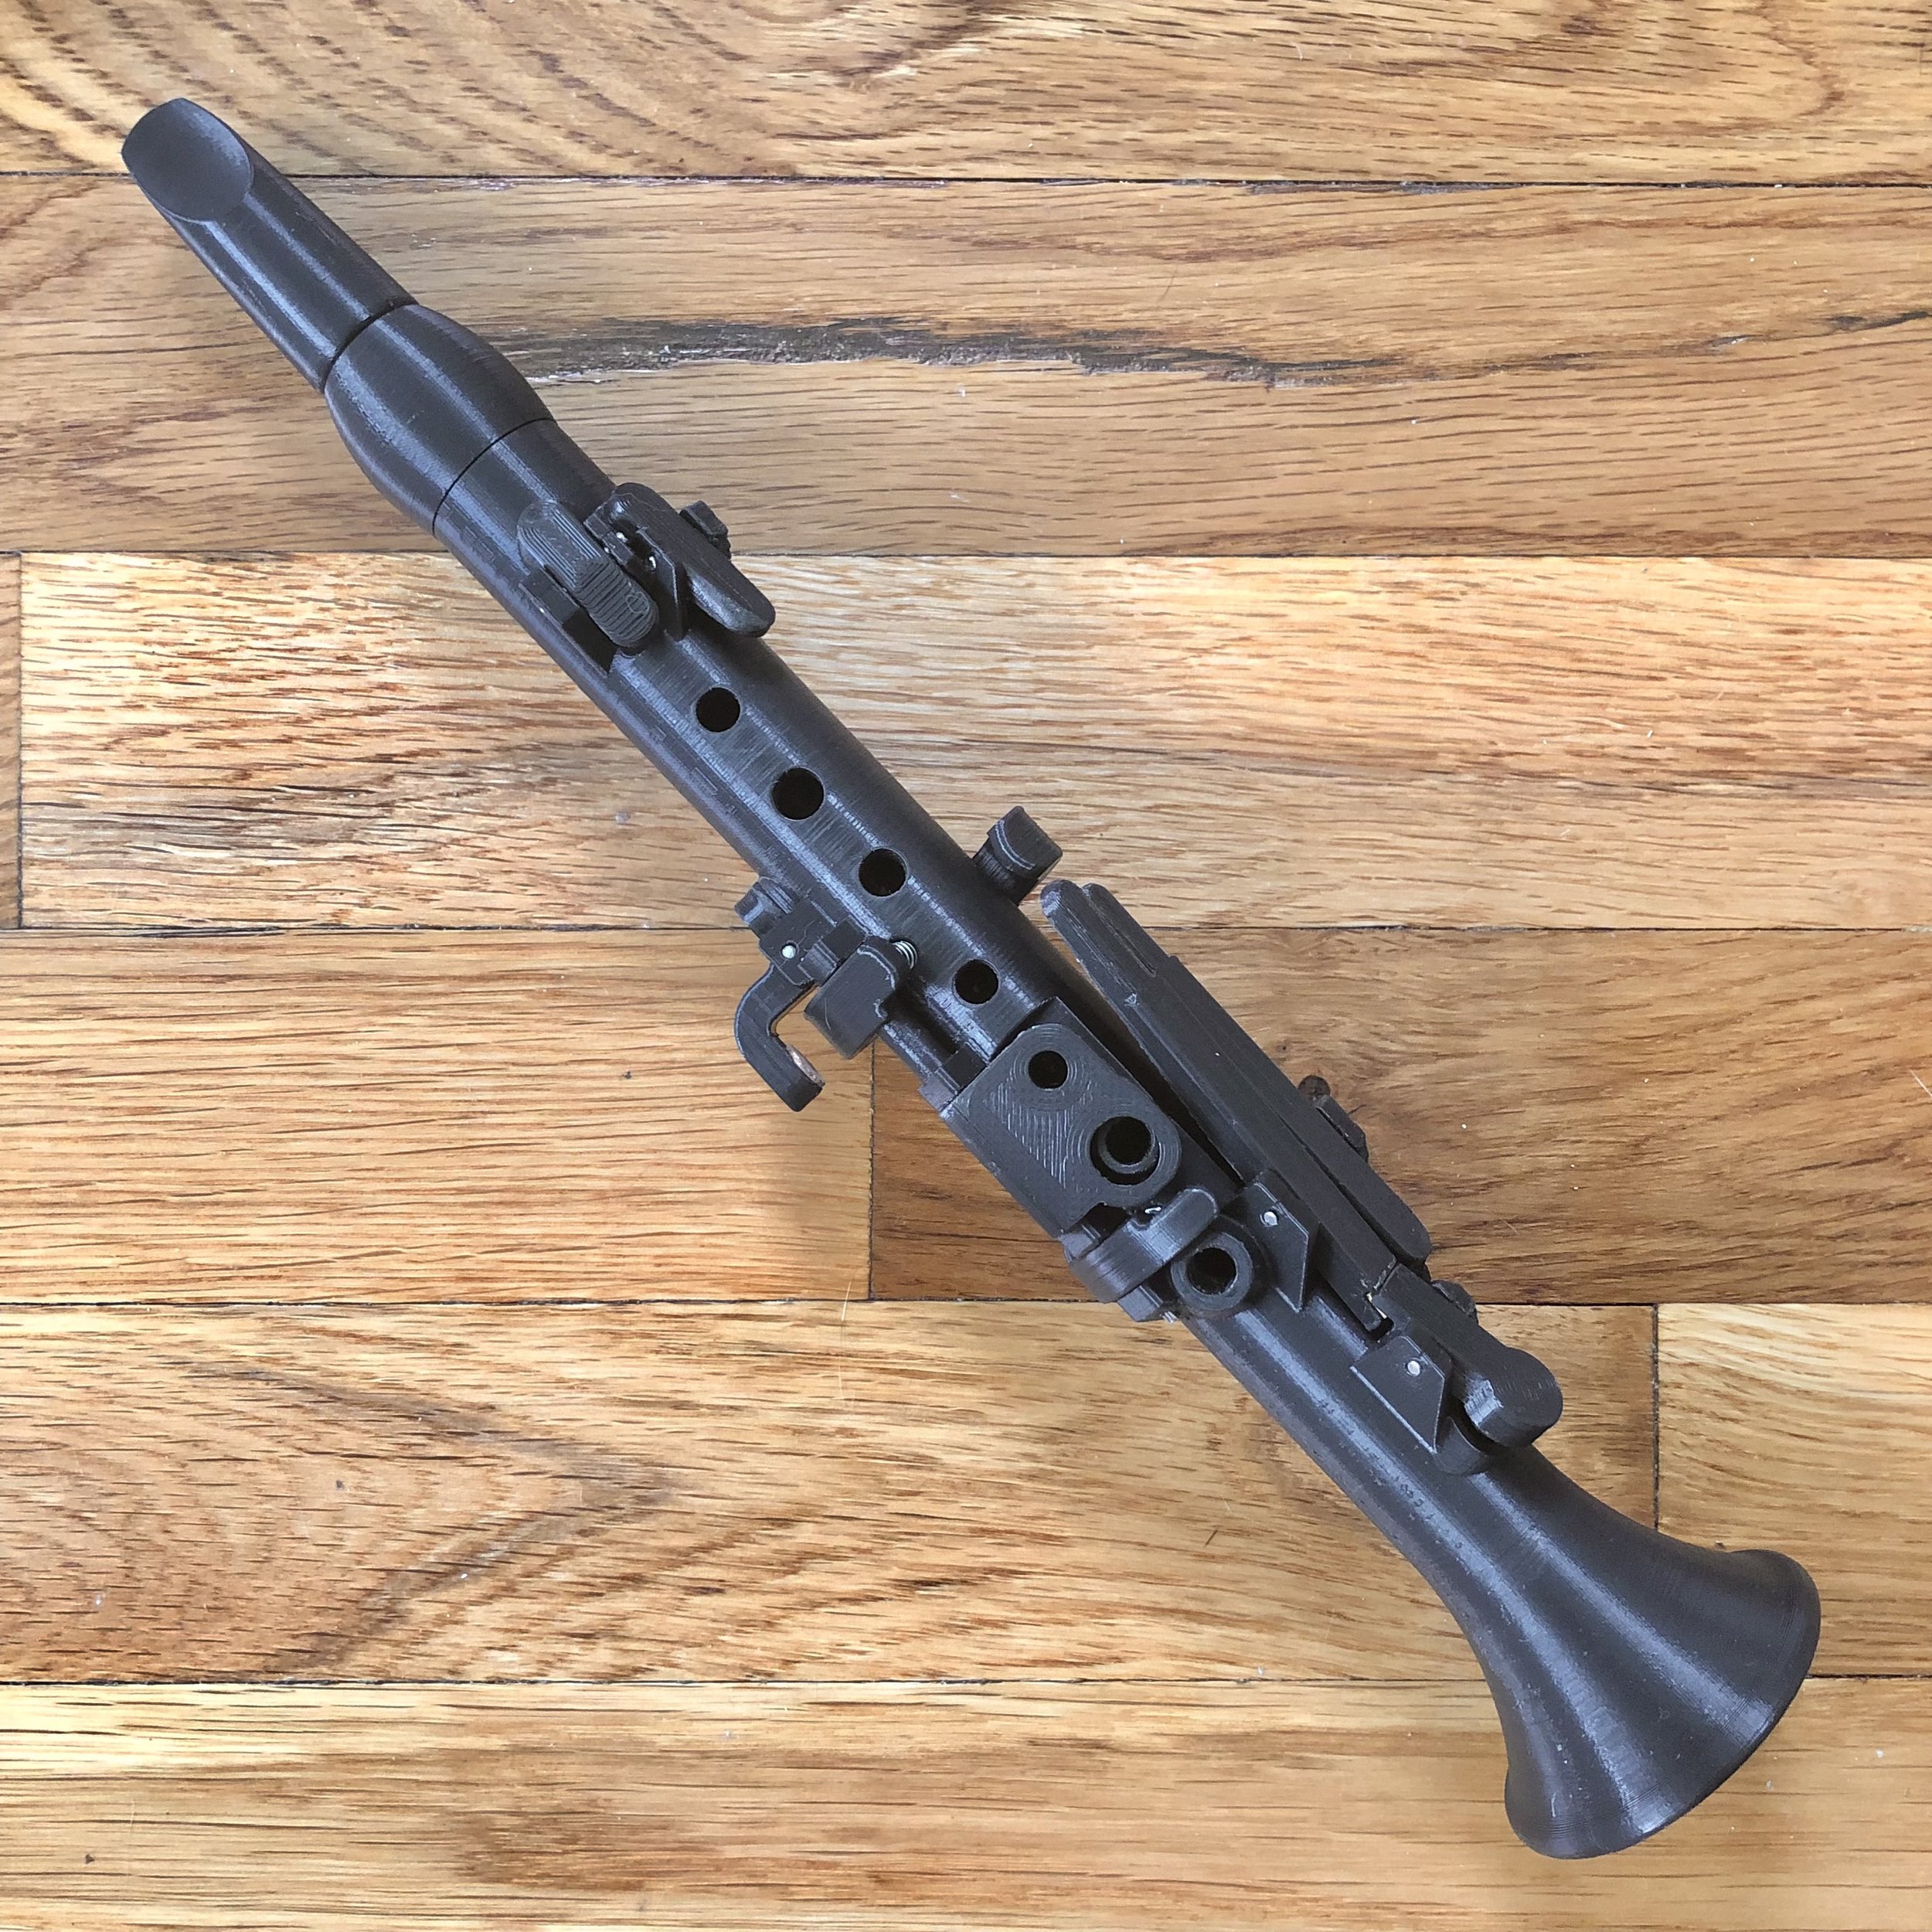
STL file: Piccolo clarinet in A natural
The world’s first print at home clarinet!
Note: you are only buying the digital STL files necessary to print the instrument shown. This should be considered an advanced level print and is recommended for someone with prior 3D printing experience and instrument repair/building experience. I recommend at least 5 outer walls and 30 percent infill. Supports are not modeled in. I recommend setting the minimum support angle to 85 degrees and a 25 square mm minimum support area in order to eliminate unnecessary supports. The keys and body will need supports to print properly. Parts will need lots of post processing and fitting to work properly. The mouthpiece needs a light refacing to work well, just a light pass with some 320-500 grit sandpaper on a glass plate to make sure it seals. I recommend printing several mouthpieces at different orientations as I’ve found on my printer some sides are more level than others. Minimum Z height for a full print: 250mm. File is NOT transferable nor does the purchase of this file give any rights to manufacture this instrument for resale, however feel free to make as many copies as you like for your own personal use.
My most ambitious 3D printing project to date, a fully playable 3D printed piccolo clarinet in A natural. This is a simple system instrument with 9 keys. The fingerings are mostly German system and it has a fully chromatic range with only one cross fingering for F/C. This set of files includes the body, 10 keys, mouthpiece and 2 barrels, one for the included mouthpiece file and one sized to work with a Vandoren mouthpiece (I have not tested this so I cannot guarantee it will tune well). In addition to the files you will need:
1/16” Neoprene foam for the pads
2mm stainless steel rod
1/8” thin walled seamless brass tubing for the register tube, cut to 10mm. (available in the “hobby” section of many home improvement stores with the fasteners
Springs, 0.4mm wire diameter, 4.5mm outer diameter (These can be salvaged from certain pens or you can order 100 for under $10)
Contact cement to attach pads
Cyanoacrylate to fix leaks if needed
1/32” cork for the tenons
Wire cutters for springs
Razor blades and sandpaper for cork
Files and a 2mm drill bit for cleaning up keys
Soldering iron to insert register tube (alternatively drill out hole with 1/8” drill and epoxy in place)
1/4” hole punch for the perforated pad on the forked Bb/F key ( I just made one from some thin walled tubing sharpened at the end)
1.5mm waxed cord for a ligature or a Rovner slim sopranino ligature
Sandpaper and glass plate for mouthpiece refacing
Scissors or 3/8” to 1/4” hole punches for cutting out pads
Vandoren Ab clarinet reeds (Strength 2 or 3, may need to work them a bit to get good response.)
Ideally you should also have some way to diagnose leaks. I use a tub of water, plugs for the holes and a small pump.
For assembly the rods are simply press fit, cut them a bit wider than the key blocks.
Pads are simply cut out from the foam sheet and glued on the keys with contact cement. I like to give the tone holes a light pass with a file. I’ve designed it so no leveling of the pads is needed. Springs should be cut to length as needed. I generally find that for most keys the springs work well with between 5 and 9 spirals. To adjust key tension simply replace the spring with one that has more or less spirals.