
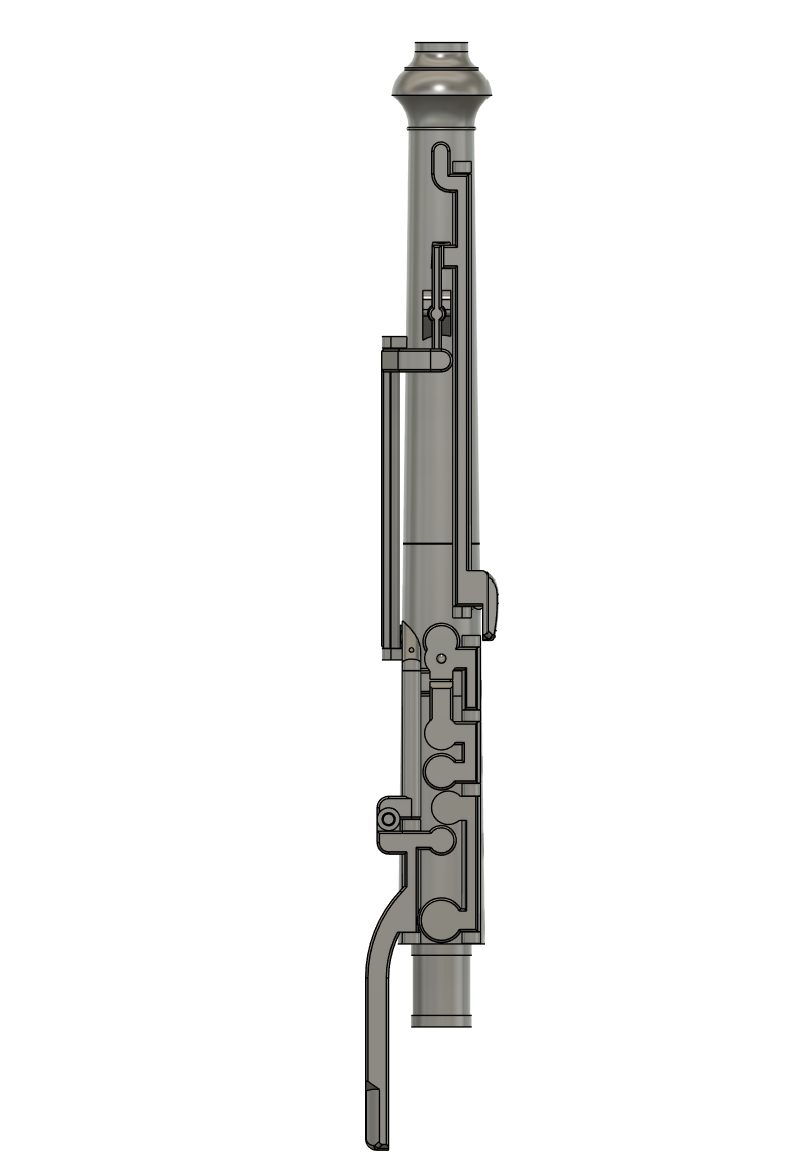
 Image 1 of 4
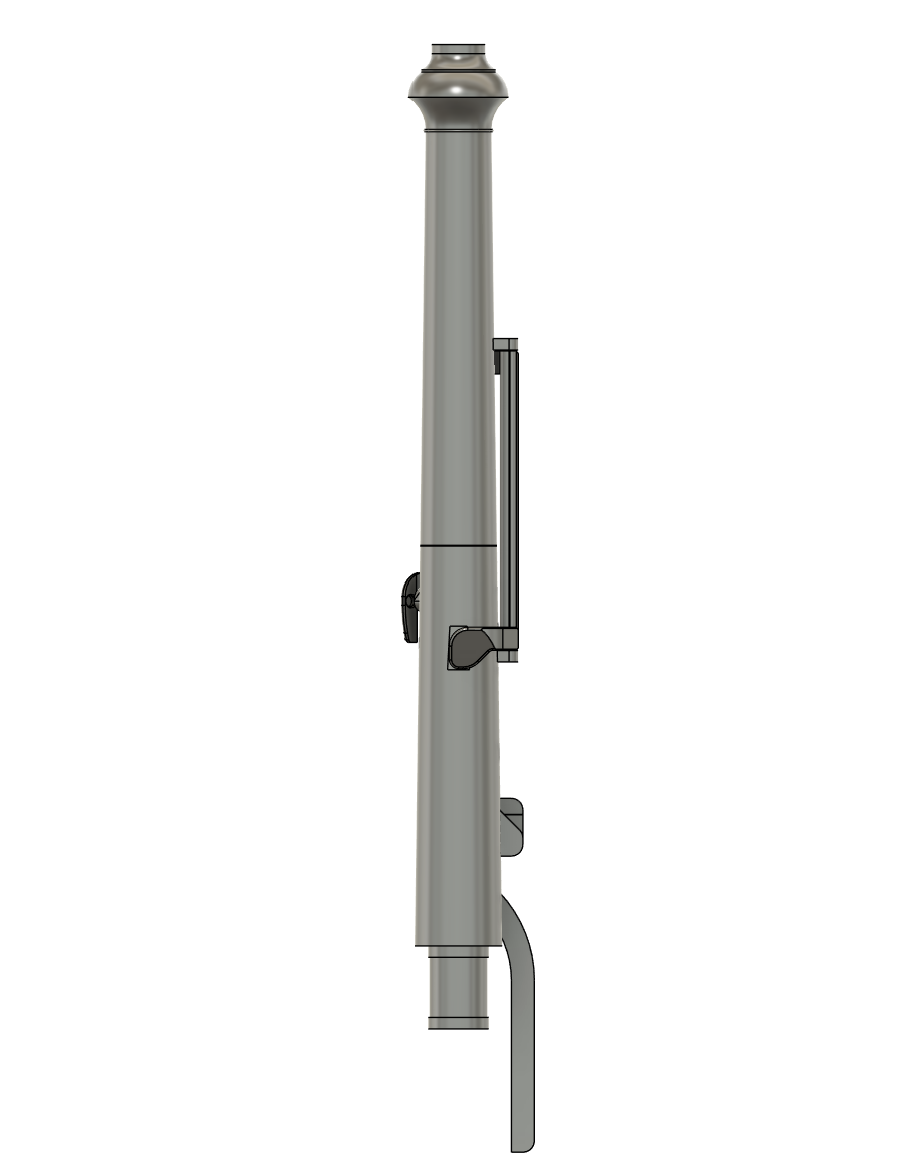 Image 2 of 4
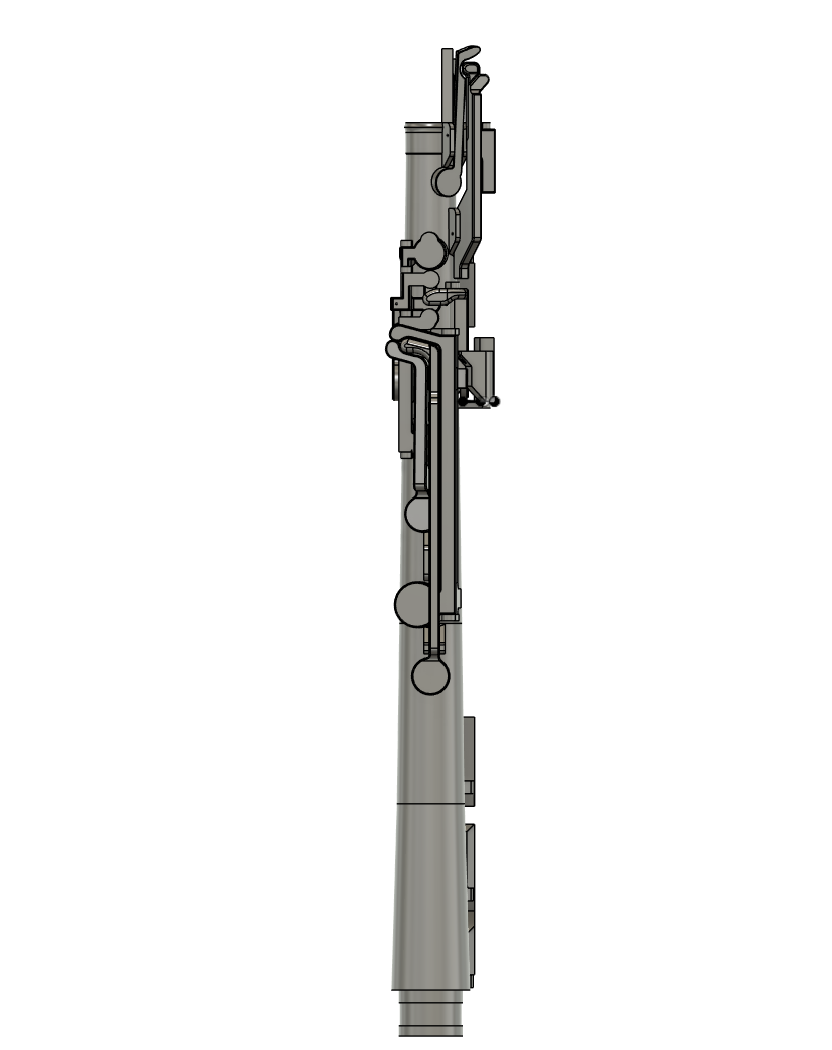 Image 3 of 4
 Image 4 of 4
.3mf files: Large bore bass oboe
PLEASE NOTE: You are purchasing the .3mf files necessary for the construction of the JDWoodwinds designed large bore bass oboe. This project contains 42 individual 3D printed components and many more non-3D printed components. There is no step by step instruction manual included as every printer is different and the steps I took to to assemble this instrument are not necessarily the steps you need to take. There will be a lot of post-processing and fitment, and because of this it should be considered a project for experts in both 3D printing and woodwind repair ONLY. This is not a DIY project, while my hope is that the technology gets easier to use with time, it is not there yet. Please also note that this is not a cheap project either, it will be expensive and time consuming! Files are non-transferable and not for commercial use.
A project over 3 years in the making! The JDWoodwinds bass oboe is a large bore instrument similar to the Heckelphone. It uses Heckelphone reeds and has German fingerings with Bb and C being played with a side key rather than with the right hand first finger key. It features a range to low A, left hand F and semi-automatic octave keys. Low B, Bb and A are played with the right thumb.
Video demo of the first prototype:
https://www.youtube.com/watch?v=4r1qWuV3RhU
Reeds can be purchased here (I recommend the Rieger shape):
https://hodgeproductsinc.com/rm-heckelphone-reed/
A bocal can be purchased here:
https://jdwoodwind.com/shop/p/bass-oboe-bocal
A Heckelphone bocal can also be used.
Print settings:
All parts can be made on a printer with a build volume of 210mm x 210mm x 250mm.
I recommend printing all parts in ABS, ASA or PLA+ if temperature resistance is not a concern. For body joints I recommend at least 5 walls when using a 0.4mm nozzle. For the keys I recommend at least 15 walls to ensure the correct stiffness. The support threshold angle can be set under 5 degrees. Make sure that your flow ratio is close to 1 to ensure a good airtight seal. for certain printers you may also need to seal overhangs with cyanoacrylate. For post processing you will need to remove supports and flatten the overhangs with a file. The tone holes will also need to be leveled with a tone hole file. I personally used about seven rolls of filament. The body joints are held together with panel board nails and slow cure epoxy.
Below is a list of non-3D printed components you will need to complete the project, you may need additional materials beyond this list as well:
Music Medic Neo pads:
15mm x 1
18mm x 1
21.5mm x 1
22.5mm x 1
25mm x 3
26.5mm x 1
32mm x 4
Rubberized CA glue (for pads)
1/16” closed cell neoprene foam sheet (for all other pads)
8mm square carbon fiber tube (I recommend purchasing 2× 1000mm pieces)
365mm x 1
449mm x 1
517mm x 1
3mm carbon fiber rod (for left Eb key)
1.5mm carbon fiber rod (for small hole in right 2 key)
2mm stainless steel rod (there are 2 pieces over 500mm but the rest are under 450mm, I would recommend purchasing 2 pieces of 600mm rod and a 10 pack of 450mm rod)
Various coil springs:
15mm long x 4mm diameter x 0.3mm wire diameter (I recommend a pack of 25, the majority of open-standing keys use these)
15mm long x 4mm diameter x 0.4mm wire diameter (I recommend a pack of 10, the majority of closed-standing keys use these)
Cotton cord (for tenons, 1/32” cork will also work)
Felt sheet (for key felts)
0.5mm Tech cork
Various thicknesses of sheet cork (for key corks)
M5 × 10mm grub screws (for adjustment screws)
Panel board nails (remove head and cut to 39mm)
Slow cure epoxy
Extra long 2mm drill bit
8mm hole punch (for octave key pads)
9mm hole punch (for C natural key pad)
16mm hole punch (for right 1, right 2 and forked F key pads)
Body assembly:
The body sections should be cleaned and the flat ends should be roughened with sandpaper before gluing. Use the 2mm drill bit to clean out the alignment holes and use a long clamp to hold the body joints while gluing. Be sure to clean excess epoxy.
Key assembly:
Included in the files is a file called “Touchpiece (x5)”, you will need to print 5 of these for right 2 & 3 and left 1, 2 and 3. Hinge keys should first be cleaned out with the extra long 2mm drill bit. From here take a 2mm rod and grind one end flat. Then this can be chucked and used as a broach to remove material from the key. Do this until the key moves freely on the 2mm rod but don’t overdo it or the key will be too loose. Note that you should straighten all rods on a bench motor or lathe before use. Pivot keys can be sized in the same manner. To fit keys, use a file to carefully remove material from the end. Longer keys on the instrument use square carbon fiber tube to join two 3D printed sections. Each 3D printed key section has about 20mm of material between the end of the cutout for the tube and the end, use this to size the tubes. Once cut to size, tubes can be glued in with 2 part epoxy, I recommend dry fitting everything first. Again use the pictures for reference. Use felt for key bumpers, cork can also be used if extra thickness is needed. For final assembly cut the stainless rod so that it sticks our a few mm from each end of the posts and de-burr the edge. Lithium grease can be used for lubricant. I recommend a pair of brass jawed pliers for installing and removing the rods. If a rod does not fit continue cleaning posts with a 2mm drill bit until they can slide in, they should be tight enough that they cannot be pushed out with finger pressure. Springs simply fit in the circular cutouts in the body and keys. Open standing keys generally use the 0.3mm wire diameter springs and closed standing keys use the 0.4mm wire diameter springs. Tone holes will need to be leveled with a tone hole leveling tool. For the keys with neoprene foam pads the pads can be cut out with the hole punches and glued on with contact cement. The tone holes for these keys will need to be leveled so that the pad closes evenly around all sides. Use a leak light to verify the seal. For pads that have a pad cup use the Music Medic Neo pads and reference Music Medic for installation. The tone holes for these keys only need to be leveled enough to ensure a flat surface.
For the right F key, a 2mm rod should be glued in the small hole so that it can be lifted by the left F key. The rod should extend 12mm past the end of the key.
2 bell files are included, one that can have a small 7mm spike installed and one that uses a cello peg.
PLEASE NOTE: You are purchasing the .3mf files necessary for the construction of the JDWoodwinds designed large bore bass oboe. This project contains 42 individual 3D printed components and many more non-3D printed components. There is no step by step instruction manual included as every printer is different and the steps I took to to assemble this instrument are not necessarily the steps you need to take. There will be a lot of post-processing and fitment, and because of this it should be considered a project for experts in both 3D printing and woodwind repair ONLY. This is not a DIY project, while my hope is that the technology gets easier to use with time, it is not there yet. Please also note that this is not a cheap project either, it will be expensive and time consuming! Files are non-transferable and not for commercial use.
A project over 3 years in the making! The JDWoodwinds bass oboe is a large bore instrument similar to the Heckelphone. It uses Heckelphone reeds and has German fingerings with Bb and C being played with a side key rather than with the right hand first finger key. It features a range to low A, left hand F and semi-automatic octave keys. Low B, Bb and A are played with the right thumb.
Video demo of the first prototype:
https://www.youtube.com/watch?v=4r1qWuV3RhU
Reeds can be purchased here (I recommend the Rieger shape):
https://hodgeproductsinc.com/rm-heckelphone-reed/
A bocal can be purchased here:
https://jdwoodwind.com/shop/p/bass-oboe-bocal
A Heckelphone bocal can also be used.
Print settings:
All parts can be made on a printer with a build volume of 210mm x 210mm x 250mm.
I recommend printing all parts in ABS, ASA or PLA+ if temperature resistance is not a concern. For body joints I recommend at least 5 walls when using a 0.4mm nozzle. For the keys I recommend at least 15 walls to ensure the correct stiffness. The support threshold angle can be set under 5 degrees. Make sure that your flow ratio is close to 1 to ensure a good airtight seal. for certain printers you may also need to seal overhangs with cyanoacrylate. For post processing you will need to remove supports and flatten the overhangs with a file. The tone holes will also need to be leveled with a tone hole file. I personally used about seven rolls of filament. The body joints are held together with panel board nails and slow cure epoxy.
Below is a list of non-3D printed components you will need to complete the project, you may need additional materials beyond this list as well:
Music Medic Neo pads:
15mm x 1
18mm x 1
21.5mm x 1
22.5mm x 1
25mm x 3
26.5mm x 1
32mm x 4
Rubberized CA glue (for pads)
1/16” closed cell neoprene foam sheet (for all other pads)
8mm square carbon fiber tube (I recommend purchasing 2× 1000mm pieces)
365mm x 1
449mm x 1
517mm x 1
3mm carbon fiber rod (for left Eb key)
1.5mm carbon fiber rod (for small hole in right 2 key)
2mm stainless steel rod (there are 2 pieces over 500mm but the rest are under 450mm, I would recommend purchasing 2 pieces of 600mm rod and a 10 pack of 450mm rod)
Various coil springs:
15mm long x 4mm diameter x 0.3mm wire diameter (I recommend a pack of 25, the majority of open-standing keys use these)
15mm long x 4mm diameter x 0.4mm wire diameter (I recommend a pack of 10, the majority of closed-standing keys use these)
Cotton cord (for tenons, 1/32” cork will also work)
Felt sheet (for key felts)
0.5mm Tech cork
Various thicknesses of sheet cork (for key corks)
M5 × 10mm grub screws (for adjustment screws)
Panel board nails (remove head and cut to 39mm)
Slow cure epoxy
Extra long 2mm drill bit
8mm hole punch (for octave key pads)
9mm hole punch (for C natural key pad)
16mm hole punch (for right 1, right 2 and forked F key pads)
Body assembly:
The body sections should be cleaned and the flat ends should be roughened with sandpaper before gluing. Use the 2mm drill bit to clean out the alignment holes and use a long clamp to hold the body joints while gluing. Be sure to clean excess epoxy.
Key assembly:
Included in the files is a file called “Touchpiece (x5)”, you will need to print 5 of these for right 2 & 3 and left 1, 2 and 3. Hinge keys should first be cleaned out with the extra long 2mm drill bit. From here take a 2mm rod and grind one end flat. Then this can be chucked and used as a broach to remove material from the key. Do this until the key moves freely on the 2mm rod but don’t overdo it or the key will be too loose. Note that you should straighten all rods on a bench motor or lathe before use. Pivot keys can be sized in the same manner. To fit keys, use a file to carefully remove material from the end. Longer keys on the instrument use square carbon fiber tube to join two 3D printed sections. Each 3D printed key section has about 20mm of material between the end of the cutout for the tube and the end, use this to size the tubes. Once cut to size, tubes can be glued in with 2 part epoxy, I recommend dry fitting everything first. Again use the pictures for reference. Use felt for key bumpers, cork can also be used if extra thickness is needed. For final assembly cut the stainless rod so that it sticks our a few mm from each end of the posts and de-burr the edge. Lithium grease can be used for lubricant. I recommend a pair of brass jawed pliers for installing and removing the rods. If a rod does not fit continue cleaning posts with a 2mm drill bit until they can slide in, they should be tight enough that they cannot be pushed out with finger pressure. Springs simply fit in the circular cutouts in the body and keys. Open standing keys generally use the 0.3mm wire diameter springs and closed standing keys use the 0.4mm wire diameter springs. Tone holes will need to be leveled with a tone hole leveling tool. For the keys with neoprene foam pads the pads can be cut out with the hole punches and glued on with contact cement. The tone holes for these keys will need to be leveled so that the pad closes evenly around all sides. Use a leak light to verify the seal. For pads that have a pad cup use the Music Medic Neo pads and reference Music Medic for installation. The tone holes for these keys only need to be leveled enough to ensure a flat surface.
For the right F key, a 2mm rod should be glued in the small hole so that it can be lifted by the left F key. The rod should extend 12mm past the end of the key.
2 bell files are included, one that can have a small 7mm spike installed and one that uses a cello peg.